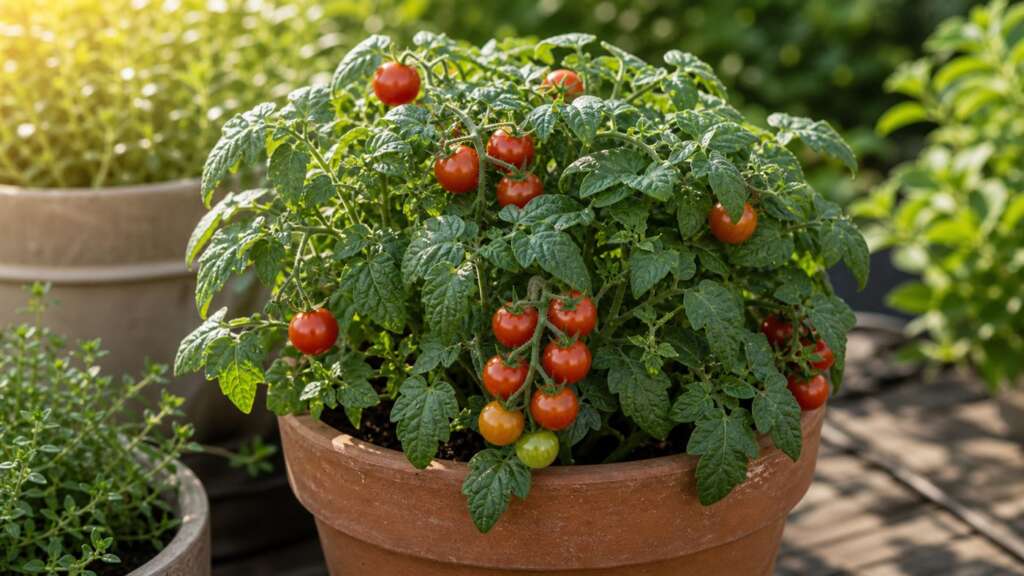
Tiny Tim is a true dwarf cherry tomato grown for windowsills, small patio pots, and tight garden corners. The plants stay compact and bushy, produce small red cherry-sized fruit, and finish quickly, which makes Tiny Tim one of the easiest tomatoes for first-time growers, apartment gardeners, and anyone who wants tomatoes without trellises or large beds.
Quick How-to
Start Tiny Tim Tomato seed indoors about 6 to 8 weeks before your last expected spring frost. Sow about 1/4 inch deep in fresh seed-starting mix, keep the mix warm and evenly moist, and give seedlings strong overhead light as soon as they sprout. Expect germination in about 5 to 10 days at 75 to 90 F. Transplant into a sunny container or garden bed after hardening off, once frost danger has passed and the soil has warmed. Because the plant is small, container moisture and light intensity matter more than garden space.
Quick Guide
| Fact | Recommendation |
|---|---|
| Best method | Indoor start, then transplant; pots work as well as garden beds |
| Sowing depth | About 1/4 inch |
| Germination temperature | Best around 75 to 90 F; steady warmth helps |
| Days to germination | About 5 to 10 days under warm conditions |
| Light for germination | Cover seed; strong overhead light needed immediately after sprouting |
| Spacing | About 12 to 18 inches apart in beds; one plant per 1 to 2 gallon pot |
| Sun | Full sun, ideally 6 to 8 or more hours |
| Water | Even moisture; containers may need daily watering in heat |
| Harvest timing | Often about 45 to 60 days from transplant; verify final packet timing |
| Plant size | Determinate dwarf, commonly about 12 inches; verify final packet height |
Before You Sow
Tiny Tim is a long-loved heirloom dwarf, so the indoor start matters more than a fancy garden plan. Gather clean cells, fresh seed-starting mix, labels, and a place that stays consistently warm during germination. Pre-moisten the mix in a bowl before filling cells so seed placement is even and the surface does not dry into hard pockets.
A heat mat is helpful for steady warmth under the tray but should be removed or turned down once seedlings emerge. Continued bottom heat without strong light is one of the quickest ways to create thin, stretched seedlings that lean and fall.
Plan backward from your transplant date. The goal is a sturdy little plant with a thick stem and dark green leaves, not the biggest plant in the tray. Because Tiny Tim is naturally compact, an oversized indoor plant offers no advantage and is more likely to stall after transplanting.
Indoor Starting
Fill cells with pre-moistened seed-starting mix and firm gently. Place one or two seeds per cell at about 1/4 inch deep, cover lightly, and mist the surface so seed is not displaced. A humidity dome helps hold moisture during germination. Remove the dome as soon as you see sprouts; trapped humidity after emergence encourages weak, leggy growth and damping-off conditions.
Strong overhead light is the single most important factor for healthy tomato seedlings. A bright window alone is usually not enough, especially in late winter. Use a grow light positioned a few inches above the canopy, raised as plants grow. Give long bright days, around 14 to 16 hours, and keep the air moving with a small fan once true leaves appear. Air movement strengthens stems and reduces fungal trouble.
When seedlings have one or two sets of true leaves and the roots fill the cell, pot up to a small pot. Tomatoes can grow new roots along buried stems, so a slightly deeper pot-up is a useful way to correct mild legginess and produce a sturdier transplant.
Direct Sowing
Direct sowing outdoors is possible in long, warm seasons but is rarely the best choice for Tiny Tim. The plant matures quickly once it is in the ground, but those weeks of seed-to-seedling time outdoors are exposed to chilly nights, beating rain, and slug pressure. Most gardeners get more reliable results from a short indoor start and a clean transplant.
If you do direct sow, wait until the soil is genuinely warm and nights have settled into mild territory. Sow at 1/4 inch, keep the surface evenly moist, and thin seedlings to one strong plant per spot.
Hardening Off and Transplanting
Harden off transplants over 7 to 10 days before planting out. Begin with an hour or two in a sheltered, shaded spot and gradually increase sun, breeze, and total time outdoors. Skipping this step is a common reason indoor-grown seedlings stall, sunburn, or look bleached in their first week outside.
Transplant after frost danger has passed and the soil feels warm to the touch. Cold soil slows tomato root growth even when the air seems pleasant. Dig a hole deep enough that you can set the plant in to its lowest leaves; remove the very lowest leaves if needed and bury that section of stem so it can develop more roots. Water in thoroughly and avoid disturbing the root ball.
Because Tiny Tim is a compact determinate, full caging is usually unnecessary. A short stake or a small tomato ring still helps keep heavy fruit clusters off wet soil and improves airflow during humid weather.
Container and Small-Space Growing
Tiny Tim is one of the best tomatoes for containers, balconies, and sunny indoor spots. A 1 to 2 gallon pot is workable; a 3 gallon pot is more forgiving and produces a heavier crop. Use a quality potting mix, not garden soil, and confirm that the container has drainage holes.
A few habits make container culture easier:
- Water on a schedule rather than waiting for wilt. Small pots in summer sun can dry out within a day. Cycles of severe wilt followed by saturation drive cracking and blossom end rot symptoms.
- Mulch the surface of the pot with a thin layer of compost or fine bark to slow evaporation and keep the soil temperature steadier.
- Feed lightly and regularly once flowering begins. Container soil is a closed system, so a diluted balanced fertilizer every week or two is more useful than a single heavy push of nitrogen.
- Move the pot if needed. Compact tomatoes can be relocated to chase sun in spring or to escape an afternoon hot wall during a heat wave.
For indoor windowsill growing, choose the brightest south- or west-facing window available, and supplement with a small grow light if leaves stay pale or stems stretch toward the glass.
Soil, Sun, and Water
In the ground, plant Tiny Tim in full sun in well-drained soil enriched with finished compost. Avoid pushing excess nitrogen after transplanting; lush soft leaves at the expense of flowers do nothing for fruit production.
Water at the soil line when possible to keep foliage dry, and aim for consistent moisture rather than soaking and drying. Mulch garden beds after the soil warms to stabilize moisture and slow weed competition. Even a small dwarf like Tiny Tim benefits from steady watering through flowering and fruit fill; uneven moisture is the most common cause of fruit-quality problems on otherwise healthy plants.
Top Mistakes
- Keeping seedlings on a heat mat too long. Warmth helps germination, but heat plus weak light produces tall, pale, fragile sprouts. Move trays off bottom heat and under bright lights as soon as seedlings emerge.
- Underestimating light needs. A windowsill alone is rarely enough in late winter. Plan for supplemental light so early seedlings do not stretch.
- Transplanting into cold soil. Tomatoes can survive a chilly week, but they will sulk and look stalled. Wait for warm soil and mild nights instead of rushing the calendar.
- Choosing a pot that is too small. A 4 inch or 6 inch pot will not carry a fruiting tomato through a hot summer no matter how compact the variety. Step up to at least 1 to 2 gallons.
- Letting soil swing from bone dry to saturated. Container plants in particular suffer when watering is irregular. Steady moisture supports steady fruit.
Troubleshooting by Symptom
| Symptom | Likely causes | What to do next |
|---|---|---|
| No sprouts after 10 to 14 days | Mix too cold, seed buried too deep, dry pockets, saturated mix, or weak seed lot | Confirm warmth at the mix, keep moisture even, and resow shallowly at 1/4 inch if needed |
| Seedlings tall, pale, and leaning | Weak light, too much warmth after germination, or crowded cells | Move lights closer, extend light hours, thin to one plant per cell, and turn off bottom heat |
| Seedlings collapse at the soil line | Overly wet mix, poor airflow, or damping-off conditions | Improve airflow with a small fan, reduce watering, and use fresh mix for any restarts |
| Plant stalls in the first week after transplant | Cold soil, insufficient hardening off, or dry root ball | Protect from chilly nights, water deeply but not constantly, and give plants time once soil warms |
| Flowers form but drop without setting fruit | Heat above the mid-90s F, cold nights below 55 F, drought stress, or excessive nitrogen | Keep moisture even, hold off heavy feeding, and wait for temperatures to settle |
| Blossom end rot symptoms (dark sunken patch at fruit bottom) | Irregular moisture interfering with calcium movement, often worsened by hot containers | Maintain even soil moisture, mulch the surface, and avoid letting container plants wilt severely |
| Fruit cracking after rain or watering | A sudden water surge after dry soil, common with container plants | Water more frequently in smaller amounts during heat; mulch and shade pots in extreme weather |
| Pale or yellowing lower leaves later in season | Nutrient depletion in container soil, or natural maturity | Top-dress with compost or feed lightly with a balanced fertilizer; remove lowest leaves once shaded |
Harvest and Kitchen Use
Tiny Tim ripens quickly and tends to produce its fruit in a relatively concentrated window, which is typical of determinate dwarfs. Pick when fruit is fully colored and gives slightly to gentle pressure. Cherry-sized tomatoes are at their best for snacking, salads, garnish, and quick roasting. Harvest every couple of days during peak season to encourage the plant to keep ripening the remaining fruit and to reduce splitting after summer storms.
If a late cold snap is coming and fruit is still green, pick what is showing color and ripen indoors on the counter, out of direct sun.
Seed Saving
Tiny Tim is generally treated as an open-pollinated heirloom, which means saved seed should grow reasonably true to type when isolated from other tomato varieties. Choose ripe, healthy fruit from a strong plant. Scoop seed and gel into a small jar, add a little water, and let the mixture ferment for two to three days at room temperature, stirring once a day. Rinse thoroughly, dry on a labeled plate or screen until the seed is hard and snaps cleanly, and store in a sealed envelope in a cool dry place. Always label by variety and year.
Seed Viability and Storage
Tomato seed often remains useful for about 4 to 6 years when stored cool, dry, dark, and sealed. If seed has been kept in a warm garage, a humid basement, or a closed car, run a small germination test on a damp paper towel before relying on it for a main planting.
FAQ
How tall does Tiny Tim Tomato get?
Tiny Tim typically grows as a compact bushy plant, often around 12 inches tall and similar in spread. Verify the height range against the final packet copy, but plan on a small plant suited to pots and tight garden corners.
Can I grow Tiny Tim indoors year-round?
You can, but only with strong supplemental light. A bright window alone is rarely enough to ripen fruit reliably in winter. With a quality grow light, a roomy pot, hand pollination by gentle flicking of the flowers, and steady moisture, indoor production is realistic.
Does Tiny Tim need staking or caging?
Most plants do not need a full cage. A short stake or small ring is helpful once heavy fruit clusters form, mainly to keep ripening tomatoes off wet soil and to improve airflow under the plant.
Why are my Tiny Tim seedlings leggy so quickly?
The usual cause is warmth without enough light. Tomatoes germinate fast on a heat mat but then stretch toward any weak light source. Remove the heat after sprouting, position grow lights close, and extend the day length.
What size container does Tiny Tim need?
A 1 to 2 gallon pot is workable; a 3 gallon pot is more forgiving for watering and produces a heavier crop. Drainage holes are required.