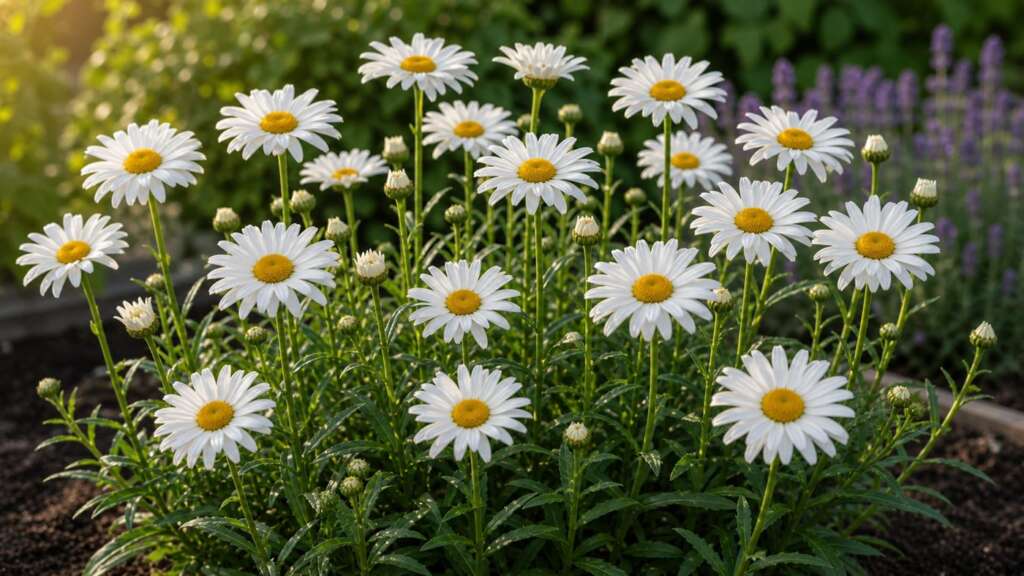
Shasta Daisy ‘Alaska’ is a hardy perennial grown for its bright white, single-form daisy flowers with sunny yellow centers. It is a classic cottage-garden and cut-flower plant that, once established, returns year after year. From seed, the most reliable approach is shallow sowing in cool weather, patience through germination, and bright growing conditions while seedlings settle in.
Quick How-to
Start Shasta Daisy ‘Alaska’ indoors about 8 to 10 weeks before your last expected spring frost, or direct sow into a prepared bed in spring once soil can be worked. Press seed onto the surface or cover only very lightly, since light helps germination. Keep the seedbed evenly moist at about 65 to 70 F and expect sprouts in roughly 10 to 21 days. Move seedlings into strong light as soon as they emerge, and plan for many plants to bloom their second year rather than their first.
Quick Guide
| Fact | Recommendation |
|---|---|
| Best method | Indoor start preferred for stronger plugs; direct sowing works in cool, weed-free beds |
| Sowing depth | Surface sow or barely cover; light aids germination |
| Germination temperature | About 65 to 70 F is steady and reliable |
| Days to germination | About 10 to 21 days |
| Light for germination | Needs light; do not bury seed |
| Spacing | Thin or transplant to about 12 to 24 inches apart |
| Sun | Full sun, with some afternoon relief acceptable in very hot climates |
| Water | Even moisture for establishment; mature plants prefer well-drained soil and dislike wet crowns |
| Bloom timing | Typically late spring through summer once established; first-year bloom is possible from early indoor starts but not guaranteed |
| Plant size | Commonly around 24 to 30 inches tall in flower; verify final packet height |
| Hardiness | Generally treated as a perennial in moderate climates; behavior varies by zone and site |
Before You Sow
Shasta daisies reward a little extra patience compared with fast annuals like zinnia or cosmos. The seed is small, the seedlings are slow at first, and most plants spend their first season building a leafy crown before flowering hard. Knowing that up front makes the early weeks easier to interpret.
Choose a sunny spot with soil that drains well. Shasta daisies tolerate ordinary garden soil and do not need heavy feeding, but they strongly dislike sitting in cold, soggy ground over winter. If your bed tends to puddle, work in compost to lighten it, or plant on a slight rise. For containers, use a pot with drainage holes, a quality potting mix, and enough volume that the root zone does not dry to bone between waterings.
Smooth and firm the seedbed before sowing. Tiny daisy seed sits on or just under the surface, so a level, finely raked bed gives much more even germination than cloddy soil. Water the bed before sowing so seed is not washed deeper than you intended when you irrigate after planting.
Indoor Starting
Indoor starting is the most reliable path to a clean stand of plants you can place exactly where you want them. Sow about 8 to 10 weeks before your intended transplant date. Use fresh seed-starting mix, clean cells, and labels, and pre-moisten the mix so seed placement stays even.
Press seed onto the surface or sift only the lightest dusting of mix over the top. Light improves germination for Shasta daisy, so resist the urge to bury seed for “safety.” A humidity dome or loose plastic cover can hold surface moisture through germination; remove it as soon as seedlings emerge so airflow improves.
Keep the trays at about 65 to 70 F. Avoid leaving them on a hot mat after sprouting; warmth combined with weak light is the fastest way to produce stretched, pale seedlings. As soon as the first sprouts appear, move trays under strong overhead light for long days. A bright south-facing window alone is usually not enough during late winter and early spring.
Once seedlings have a couple of sets of true leaves and roots fill the cell, pot up into larger cells or small pots. Strong, stocky transplants with a healthy root ball settle in far better than overgrown, rootbound starts.
Direct Sowing
Direct sowing works well in a prepared, weed-free bed once soil can be worked in spring. Scatter seed thinly across smoothed soil and press gently for soil contact, or barely cover with fine soil or vermiculite. Water with a gentle spray so seed is not displaced.
The biggest challenge with direct sowing perennials from seed is competition. A weedy bed quickly outpaces slow daisy seedlings, and it becomes hard to tell which sprouts to keep. Either start with a clean bed, or sow into a nursery row where you can identify and transplant young plants later.
Keep the surface evenly moist until seedlings are visible. If the top crusts in dry weather, mist it gently or shade lightly with a thin row cover until germination is complete. Once true leaves appear, thin or transplant to your final spacing.
Transplanting and Spacing
Harden off indoor-started seedlings over 7 to 10 days before planting out. Begin with sheltered shade and short outdoor visits, then gradually increase sun and breeze. Transplant after the last hard frost, when nights are mild and soil has begun to warm.
Set transplants at the same depth they grew in the cell. Burying the crown encourages rot, especially in cool, wet springs. Space plants about 12 to 24 inches apart to allow each clump to mature into a full, free-standing mound. Closer spacing can look full faster but reduces airflow and tends to invite foliar issues over time.
Water in well after transplanting and keep the root zone evenly moist for the first few weeks while plants knit into the surrounding soil.
Soil, Sun, and Water
Full sun produces the sturdiest stems and the strongest bloom. In very hot climates, light afternoon relief is acceptable, but deep shade leads to floppy growth and few flowers. Soil should drain freely. Shasta daisies are not heavy feeders; a moderate spring topdressing of compost is usually enough, and pushing high-nitrogen fertilizer tends to produce soft, leafy growth instead of strong flower stems.
For establishment, think “evenly moist.” Once plants are settled, water deeply but less often, letting the top inch of soil dry between waterings. Mature clumps tolerate brief dry spells better than constant saturation. Mulch lightly to even out moisture, but keep mulch pulled back from the crown so it does not trap dampness against the stems.
Top Mistakes
- Burying the seed: Shasta daisy seed germinates best with light. Sowing too deep is one of the most common reasons home gardeners see thin, uneven stands.
- Letting the surface dry between waterings: The seed zone can crust quickly in spring wind. Even short dry spells during germination can stall a planting.
- Keeping seedlings warm but dim: Heat plus weak light produces tall, pale seedlings that flop and resent transplanting. Once seed sprouts, the priority shifts from warmth to strong light.
- Expecting heavy first-year bloom: Many seed-grown Shasta daisies put their first season into root and crown development. Modest first-year flowering is normal; the show usually arrives in year two.
- Planting into a wet, poorly drained spot: Shasta daisies tolerate cold winters far better than soggy ones. Wet crowns over winter are a common cause of disappearing perennials.
Troubleshooting by Symptom
| Symptom | Likely causes | What to do next |
|---|---|---|
| No sprouts after 21 days | Seed buried too deep, surface dried, soil too cold, or older seed | Resow shallowly on a smoothed surface, keep the top moist, and aim for 65 to 70 F |
| Patchy germination | Uneven depth, seed washed into low spots, or crusted soil | Smooth and firm the bed before sowing, water gently, and barely cover seed |
| Seedlings tall, pale, and floppy | Weak light, too much warmth, or crowded trays | Move under stronger overhead light, lower temperatures, thin to one per cell |
| Seedlings collapse at the soil line | Saturated mix, low airflow, or damping-off conditions | Water less often, improve airflow, use fresh mix for restarts, avoid sitting water in trays |
| Established plants make leaves but few flowers | Too much shade, excess nitrogen, or very young plants in their first season | Move to full sun where possible, ease off feeding, and give plants another season to mature |
| Crowns rot over winter | Wet, poorly drained soil or mulch piled against stems | Improve drainage, plant on a slight rise, and keep mulch pulled back from the crown |
| Center of clump dies out after a few years | Natural aging of the perennial clump | Lift in early spring or fall, divide the healthy outer sections, and replant |
Bloom Care and Cutting
Once Shasta Daisy ‘Alaska’ begins flowering, regular cutting keeps the plant looking tidy and often extends the bloom window. Harvest stems when flowers are freshly open and the centers are still bright yellow; older blooms with brown centers do not hold as well in a vase. Cut in the cool part of the day and place stems straight into clean water.
Deadhead spent flowers as you pass through the bed. Removing finished blooms before they set seed channels energy back into the plant and often encourages a second, lighter flush of flowers later in the season. If you would rather have some self-sown seedlings, leave a few heads to mature and shed naturally.
Long-Term Care and Division
Shasta daisies form expanding clumps. After several seasons, the center of a clump may thin out while the edges remain vigorous. This is a normal sign that the plant is ready to be divided. Lift the clump in early spring or early fall, discard the tired center, and replant healthy outer sections at the spacing you would use for new transplants. Division refreshes the planting and gives you free plants to spread elsewhere in the garden.
Seed Saving
Shasta Daisy ‘Alaska’ is a named selection within Leucanthemum x superbum. Seed saved from your plants will often grow into healthy daisies, but flower form, height, and crispness of color may drift from the parent in seedlings, especially if other Leucanthemum or daisy types grow nearby.
To save seed, let selected flower heads dry on the plant until the central seed mass is tan and brittle. Cut the heads on a dry day, finish drying indoors out of direct sun, and rub the heads gently to release the seed. Clean off chaff, label with variety name and year, and store cool, dry, dark, and sealed.
Seed Viability and Storage
A practical planning range for Shasta daisy seed is about 2 to 3 years when stored cool, dry, dark, and sealed. Older seed can still germinate, but expect lower and slower stands. If seed has been exposed to heat or humidity, sow a small test batch on a damp paper towel before committing it to a main planting.
FAQ
Will Shasta Daisy ‘Alaska’ bloom the first year from seed?
Sometimes, especially from early indoor starts that go out as strong transplants. More often, the first season is mostly leafy growth and crown development, with full flowering arriving the second year.
Should I cover the seed?
Use only the lightest cover, or none at all. Shasta daisy seed benefits from light during germination, so surface sowing on firmed soil works well.
Is it a true perennial?
In most moderate climates it returns reliably for several years and can be divided to keep clumps vigorous. Performance depends on drainage and winter wet more than on cold alone.
Can I grow it in a container?
Yes, given enough soil volume, drainage, and full sun. Container plants need more attentive watering and will benefit from being moved into a larger pot or split as the clump fills its container.
Does it spread aggressively?
Clumps widen each year, but Shasta daisies are not generally considered invasive. Lift and divide every few years to keep the planting tidy.