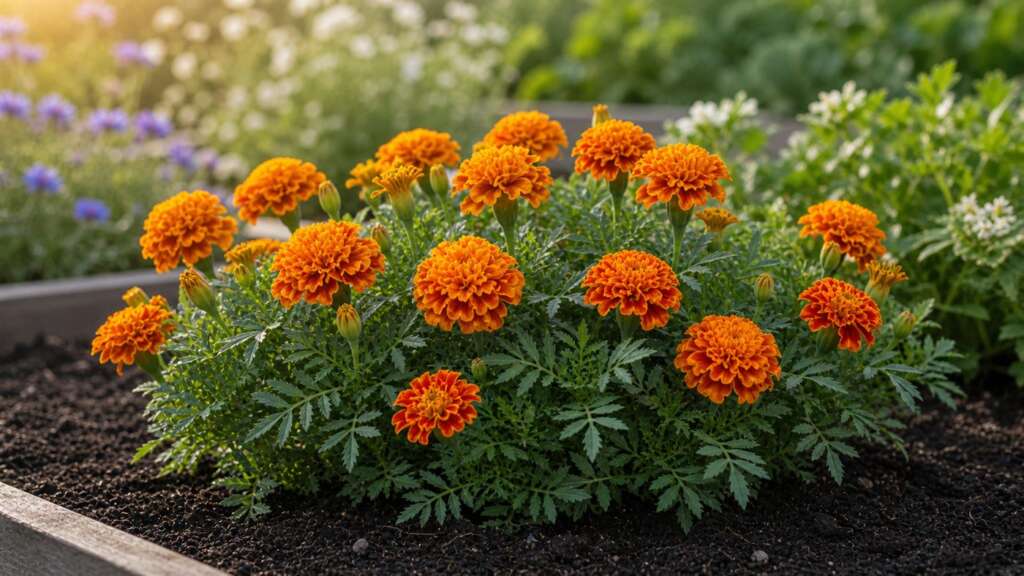
Petite French Dwarf Marigold is a compact warm-season annual grown for cheerful gold, orange, and mahogany blooms on tidy, low plants. It is one of the most beginner-friendly flowers from seed: the seed is large enough to place by hand, sprouts quickly in warm soil, and rewards a simple routine of full sun, even moisture, and regular deadheading. Petite types stay small enough for borders, edging, container rims, and tucked-in spots between vegetables.
Quick How-to
Start Petite French Dwarf Marigold indoors about 4 to 6 weeks before your last expected spring frost, or direct sow outdoors after frost danger has passed and the soil has warmed. Sow about 1/4 inch deep, keep the mix evenly moist and warm at roughly 70 to 75 F, and expect sprouts in about 5 to 10 days. Give seedlings strong light right away, harden off before transplanting, and space dwarf plants about 8 to 10 inches apart so each one has room for airflow and steady bloom.
Quick Guide
| Fact | Recommendation |
|---|---|
| Best method | Start indoors 4 to 6 weeks before transplanting, or direct sow after frost |
| Sowing depth | About 1/4 inch |
| Germination temperature | About 70 to 75 F for steady emergence |
| Days to germination | About 5 to 10 days under warm conditions |
| Light for germination | Cover lightly; provide strong light immediately after sprouts appear |
| Spacing | About 8 to 10 inches apart for dwarf French types |
| Sun | Full sun |
| Water | Even surface moisture until established; consistent watering once growing |
| Bloom timing | Often from early summer until frost when deadheaded; verify final packet timing |
| Plant size | Petite French types stay compact; verify final packet height |
Before You Sow
Marigold seed is slender and dark with a pale tuft on one end. It is large enough to space by hand, which means you can plant deliberately and avoid the crowding that tiny seed often invites. Choose a sunny bed or container that drains freely. Marigolds tolerate ordinary garden soil and do not need rich feeding; over-fertilized plants tend to grow lush leaves at the expense of flowers.
If you are starting indoors, gather fresh seed-starting mix, clean cells or small pots, labels, and a way to provide strong overhead light. Pre-moisten the mix before sowing so seed sits where you place it instead of washing into corners. A heat mat is helpful for steady germination but should be reduced or removed once seedlings emerge, because warmth without strong light leads to stretched, weak stems.
If you are direct sowing, wait until the soil has truly warmed. Marigolds are a warm-season flower, and cold, damp ground can rot seed before it has a chance to sprout. Rake the bed smooth, break up clods, and water the surface lightly before sowing so the seed has even contact with moist soil.
Indoor Starting
Sow one to two seeds per cell, about 1/4 inch deep, and firm the mix gently so the seed has good contact. Cover the tray loosely or use a humidity dome to hold moisture until sprouts appear. Aim for a steady temperature in the low 70s F. Marigolds germinate quickly in warm conditions and often show up within a week.
As soon as seedlings emerge, take off the dome and move them under strong overhead light. A sunny windowsill alone is rarely enough at this stage; weak light is the most common reason marigold seedlings stretch and flop. If you used a heat mat, remove the tray from it so the seedlings can grow cooler and stockier. Thin to one strong plant per cell by snipping the weaker seedling at the soil line instead of pulling, which protects the roots of the one you keep.
Pot up if roots fill the cell before transplant weather arrives. A short, well-lit indoor stretch makes the best transplants. Plants that linger too long in small cells become rootbound, flower prematurely on tiny stems, and stall when moved outside.
Direct Sowing
Direct sowing is a simple, reliable option once spring has truly settled. Wait until nights are mild and the soil feels warm to the touch, then scatter or place seed thinly on a smooth, pre-moistened bed. Cover with about 1/4 inch of fine soil or seed-starting mix and press gently so the seed makes contact with the ground beneath.
Water with a soft spray rather than a strong stream so the seed is not washed into low spots. Keep the surface evenly moist until you see sprouts. Once true leaves appear, thin to about 8 to 10 inches apart. Marigolds can look spindly when crowded, and an early thinning rewards you with sturdier, fuller plants later in the season.
Hardening Off and Transplanting
Move indoor-grown seedlings outside gradually over about 7 to 10 days before planting them in their final spot. Start with a sheltered, partly shaded location for an hour or two, then increase sun, wind exposure, and outdoor time each day. Skipping this step is a common reason healthy-looking seedlings sunburn, wilt, or stall after transplant.
Transplant on a calm, overcast day when possible, or in the late afternoon. Set plants at the same depth they grew in the cell, water in gently, and space them about 8 to 10 inches apart so each plant has room to bush out. Petite French types branch low and form mounded plants that fill a border quickly when given the room to spread.
Soil, Sun, and Water
Full sun gives the best bloom. Six hours is a minimum; eight or more is better, especially in cooler or cloudier regions. Soil should drain freely. Marigolds will grow in average ground without amendments and often bloom more reliably in lean soil than in heavily fed beds.
Water at the soil level when possible, and aim for steady moisture rather than a swing between bone-dry and saturated. Mulch lightly after the soil has warmed to even out moisture and keep weeds down. Once plants are established, marigolds tolerate short dry periods, but extended drought reduces bloom and leaves plants more prone to spider mites.
Top Mistakes
- Sowing too deep: Marigold seed needs only a light cover. Burying it more than about 1/4 inch can delay or prevent emergence.
- Sowing into cold soil: Marigolds want warmth. Direct sowing before the ground has warmed often leads to patchy stands or no stand at all.
- Weak light after germination: Seedlings that sprout in warmth but sit in dim light stretch quickly. Strong overhead light from day one keeps stems short and sturdy.
- Overfeeding: Rich soil or frequent nitrogen feeding produces big leafy plants with few flowers. Lean conditions usually bloom better.
- Skipping deadheading: Spent flower heads signal the plant to make seed instead of more blooms. Regular deadheading is the single biggest lever for a long, full bloom season.
Troubleshooting by Symptom
| Symptom | Likely causes | What to do next |
|---|---|---|
| No sprouts after 10 to 14 days | Soil too cold, seed buried too deep, surface dried out, or mix stayed saturated | Confirm warmth around 70 to 75 F, resow at about 1/4 inch in fresh mix, and keep the top layer evenly moist |
| Patchy germination | Uneven depth, cloddy seedbed, or heavy watering that washed seed into low spots | Smooth the bed before sowing, water gently with a soft spray, and cover seed with a thin, even layer |
| Seedlings are tall and pale | Weak light, too much warmth indoors, or crowded cells | Move lights closer, extend day length, take seedlings off the heat mat after sprouting, and thin to one per cell |
| Seedlings collapse at the soil line | Overly wet mix, poor airflow, or damping-off conditions | Improve airflow, water less often and from below when possible, and use fresh seed-starting mix for any restarts |
| Plants stall after transplant | Cold soil, rushed hardening off, or dry root ball at planting | Wait for warmer soil, harden off gradually next time, and water in thoroughly after transplant |
| Plants grow leaves but few flowers | Too much shade, excess nitrogen, or heat plus dry stress | Give full sun, hold off on fertilizer, water consistently, and deadhead spent blooms |
| Yellowing or stippled leaves with fine webbing | Spider mites, often triggered by hot, dry conditions | Rinse foliage with a strong spray of water in the morning, water plants more consistently, and remove the most affected leaves |
| Buds form but rot before opening | Wet weather, dense foliage, or overhead watering at night | Water at the base in the morning, thin crowded growth lightly, and remove rotted buds to reduce spread |
Bloom Care
Petite French Dwarf Marigold blooms most heavily when spent flowers are pinched or snipped off as they fade. Pinching just below the old bloom keeps plants tidy and pushes new flower buds. If a plant looks tired after a heavy bloom flush or a heat wave, a light overall trim and a deep watering often bring it back into full bloom within a couple of weeks.
For arrangements, cut stems in the cool part of the day and place them in water right away. The cut life is modest compared with larger cut flowers, but a small bunch of marigolds in a low vase is a classic late-summer table.
Seed Saving
Marigold seed is easy to save and easy to recognize. Let several flower heads dry on the plant until the papery base turns tan and brittle. Pull or snip the dried heads on a dry day, then gently pull the slender seeds free from the husk. Finish drying the seeds on a paper plate or screen for a few more days indoors before storage.
Label saved seed with the variety name and year. If multiple marigold types grow nearby, seedlings from saved seed may not all match the parent plant exactly. That is part of the fun if you garden casually, and worth knowing if you are aiming for a specific look next year.
Seed Viability and Storage
Marigold seed commonly remains useful for about 2 to 4 years when stored cool, dry, dark, and sealed. A small jar or zip-top bag in a cool cupboard works well. If seed has been exposed to heat or humidity, sprout a small sample on a damp paper towel before relying on it for a main planting.
Container and Small-Space Notes
Petite French Dwarf Marigolds are well suited to containers, window boxes, and the front edge of mixed pots. Use a container with drainage and enough soil volume to buffer against quick drying, generally at least a 6 to 8 inch pot for a single plant or a longer trough for a row. Container plants depend on you for steady moisture, so check pots daily in warm weather. Small pots dry quickly and can stress plants into a brief bloom pause.
A light, all-purpose potting mix is ideal. Skip heavy garden soil in containers; it compacts and holds water unevenly. A balanced slow-release fertilizer at planting is usually plenty; avoid frequent liquid feeding, which tends to push leafy growth at the expense of flowers.
FAQ
Can Petite French Dwarf Marigold be direct sown?
Yes. Wait until frost danger has passed and the soil has warmed, then sow about 1/4 inch deep on a smooth, evenly moist bed. Direct sowing is one of the simplest ways to grow this flower.
Should I deadhead marigolds?
Yes. Removing spent blooms keeps plants tidy and signals the plant to make more flowers instead of seed. It is the single biggest factor in a long bloom season.
Why are my seedlings leggy?
Stretched seedlings almost always need stronger overhead light, cooler conditions, or more space. Move lights closer right after sprouts appear, take trays off the heat mat, and thin to one plant per cell.
Do marigolds need fertilizer?
Usually not much. Marigolds bloom well in average soil and can actually bloom less in rich, frequently fed beds. A light compost amendment at planting is generally enough.
Are marigolds annual or perennial?
In most climates they are grown as warm-season annuals. Plants finish at frost and can be replaced or resown the following spring.